
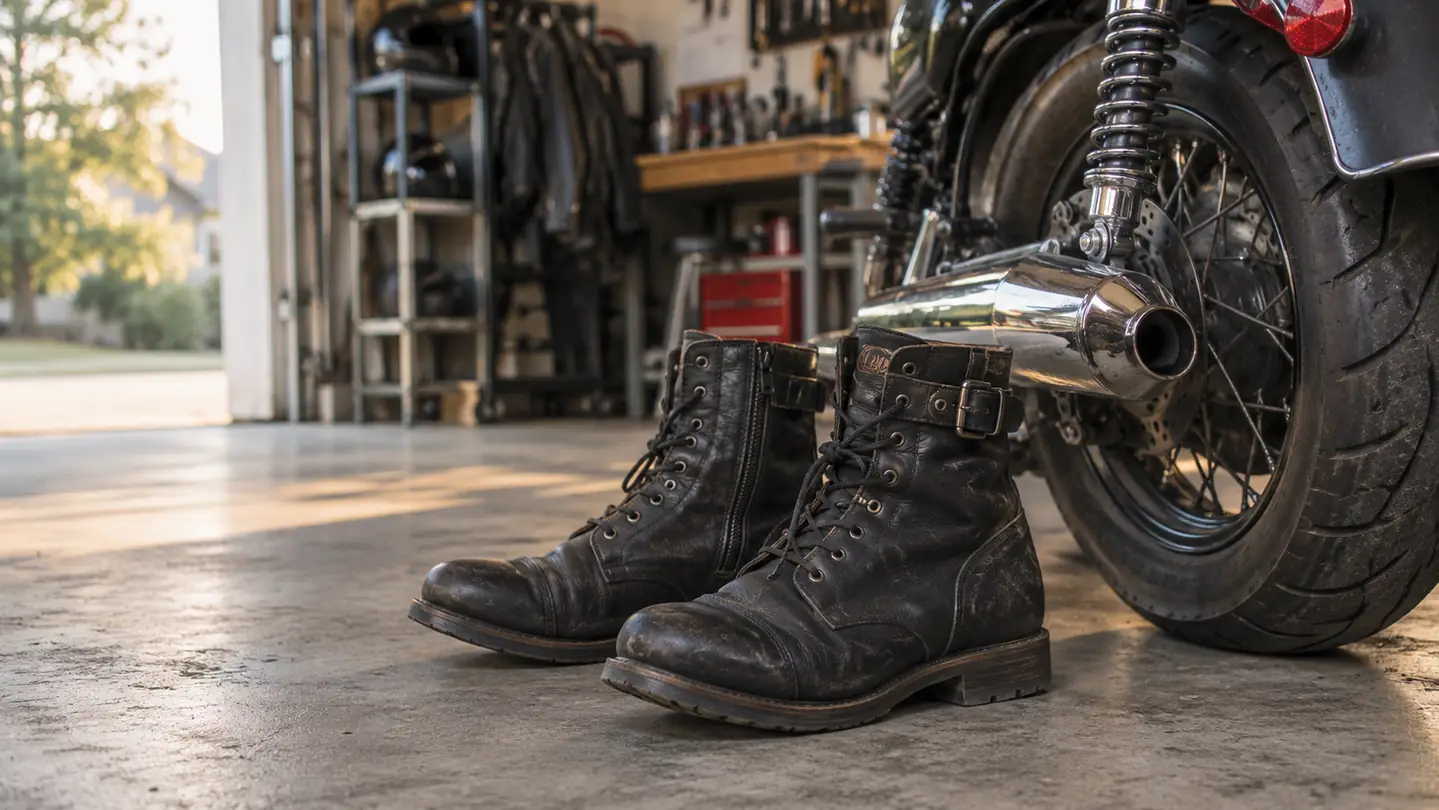
Leather riding boots hurt for about two weeks and then they stop. That is the deal, and nobody selling boots is going to lead with it. The problem is that most people quit on day four, or they try to rush the whole thing with a trick they read somewhere and end up with a pair that stretched in the wrong places and will never fit right again. Break-in is not a battle you win. It is a short project, and it goes a lot better if you run it in the right order.
I'm Gary Lockridge. I'm 51, I live in Tulsa, and I've been riding weekends for about twenty years. My current pair is the Harley-Davidson Brake Buckle, a pull-on ankle boot with an unlined leather upper and a rubber sole, and it took me about three weeks of deliberate work to get them where I wanted them. Not three weeks of bleeding through socks. Three weeks of paying attention and stopping before it got bad. Here is why this style of boot needs its own approach: there are no laces to loosen when your instep complains, and no padded lining to soften the edges. The leather is doing all the work on its own, so you have to be the one who controls how it happens. The Harley-Davidson Brake Buckle is a well made pull-on boot, and good leather will shape itself to your foot if you give it the chance in the right order.
Fit First, Then Patience. That Is the Whole Method.
The Brake Buckle is pull-on, unlined leather with a rubber sole, which means it breaks in the way leather is supposed to instead of fighting you with hardware. Start with the right size and let the leather come to you.
Amazon Check Today's Price on Amazon →Step 1: Confirm the Size Before You Blame the Break-In
Before you spend three weeks breaking anything in, spend ten minutes checking the fit. Put the boots on with the socks you actually ride in. Stand up. Your heel should lift maybe a quarter inch and settle back down when you walk, no more than that. Your toes should have room to spread and wiggle, and the widest part of your foot should sit at the widest part of the boot. If your toes are touching the front, no amount of break-in fixes it. Leather compresses and gives at the creases, but it does not grow.
This boot is a pull-on, and the listing gives an 8 inch shaft circumference, which is snug by design. Getting your foot past the instep is the hardest part of a new pair and it will feel like the boot is too small even when it is not. That resistance is normal for the first week or so. What is not normal is a boot that pinches across the top of your foot once it is fully on, or a heel that clamps hard enough to put your foot to sleep. Fighting the opening is one thing. Fighting the inside of the boot is a size problem.
If the fit is wrong, send them back and get a different size. Half a size up is a better answer than three weeks of hope. A correctly sized pair will be uncomfortable without being painful, and you can feel the difference in the first five minutes in the garage. Discomfort is the leather asking for time. Pain is the boot telling you it is the wrong boot.
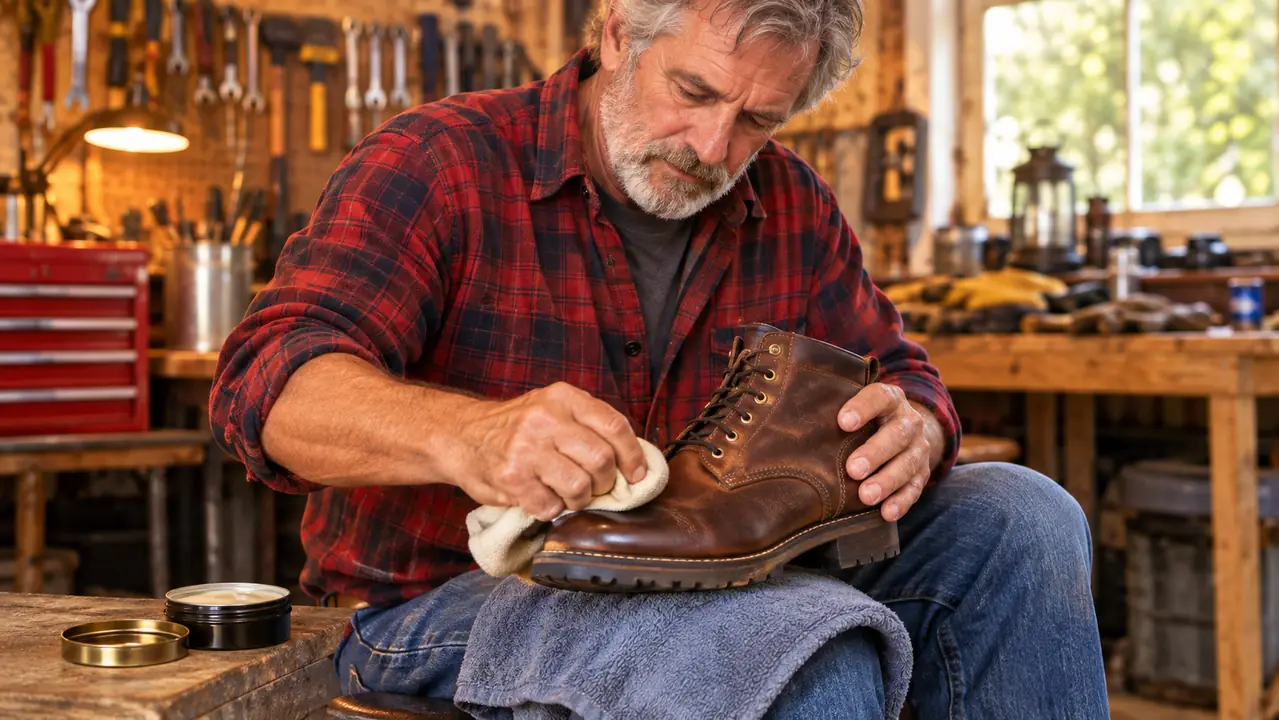
Step 2: Wear Them Indoors in Short Sessions, With Thicker Socks
Once the size is right, break-in is mostly a matter of hours on your feet, and the safest place to spend those hours is indoors. Put them on after work and wear them for an hour or two while you do something else. Stand at the bench, walk out to the garage and back, carry a load of laundry up the stairs. Do that for a week. It feels ridiculous, and it works. You are putting the first creases into the leather at the ball of your foot, in the right place, without heat and vibration piled on top of it. At a listed item weight of 4 pounds they are not slippers, so an hour is plenty at first. I did my stretch of this in late February, which is the right month in Tulsa for it, because the evenings were still cool enough that a heavy leather boot did not feel like a punishment. I wore them from the recliner to the kitchen to the garage and back, and I kept a note on the workbench of how long each session ran, because I am the sort of man who keeps a note. By the sixth evening the crease at the ball of my foot had set and the boot had stopped fighting the bend. That is the first win, and it comes earlier than you expect if you show up every night.
Wear socks thicker than what you ride in. Wool in the cool months, a cushioned cotton sock when Oklahoma is doing its August thing. The little bit of extra thickness opens the boot up, and the sweat from your own feet does more to soften leather than most products on the shelf. That is the part people miss. Moisture is the tool. You want the leather warm and slightly damp from the inside, not soaked through.
Stop when your feet tell you to stop. A red spot, a hot spot, a burning sensation at the heel. Take the boots off, let them cool down, and try again tomorrow. A blister on day two costs you a week of progress, and a boot stretched while your foot is swollen and sliding around inside it will end up too loose once the swelling goes down.
Step 3: Condition the Leather Before You Lean On It
A light coat of leather conditioner before you start riding hard makes the leather more willing to flex and less likely to crack at the creases. Rub a small amount in with your fingers or a cloth, work it into the flex point and around the heel, wipe off the excess, and let them sit overnight. One coat is enough to start. Unlined leather like this drinks product, and too much of it leaves the boot soft and floppy in a way you do not want at 60 miles an hour.
Do not soak them in water. Do not put them in the oven on low, do not use a heat gun, and do not leave them on the dash of a truck in an Oklahoma August. All of those work, in the sense that the boots get soft fast, and all of them damage the leather and can warp the sole or shrink the fit you just spent a week establishing. The freezer trick with a bag of water belongs in the same category. That is a way to stretch a boot that is genuinely too small, not a way to break in one that already fits. I watched a riding buddy cook a pair on his truck dash one July and then spend all of September wondering why the left boot fit differently than the right one. Heat does not break leather in. It just takes something out of it that you cannot put back.
The leather does not stretch into the shape of a boot. It stretches into the shape of your foot. If your foot is sliding around inside it while the leather softens, you are shaping it around the wrong foot.

Step 4: Work the Stiff Spots by Hand
The heel counter is where most boots fight you, and it is the slowest area to give because there is a stiffener in there on purpose. Warm it with your hands, bend the boot at the heel with steady pressure, and then wear it. Repeat that across a week. The flex point at the ball of the foot comes next. Bend the boot there with both hands, sole toward sole, twenty or thirty times while you watch television. You are not forcing the leather. You are asking it, repeatedly. On mine, the heel counter took four separate evenings before it quit pressing on my Achilles, and the fourth evening was the one where I noticed it had gone quiet rather than announced itself. The low heel means there is not much structure back there to give, so it is slow, patient work, and there is no shortcut that does not involve a product I would not put on good leather.
The buckle and the logo hardware sit at the ankle on this boot, and the leather around them is usually the last thing to soften. Work that area with your thumbs and check that nothing is pressing into your ankle bone when you walk. Five minutes of adjustment at the bench beats a three hour ride with a piece of hardware digging into you. If a buckle is loose enough to swing, tighten it before you ride and check it again at your first stop.
Step 5: Put the Miles On in the Right Order
After a week of indoor wear and a coat of conditioner, start riding in them, but keep the rides short. Twenty minutes around town, then a stop where you get off and walk a lap. The walking does as much as the riding, because flexing is what shapes the leather. Build up over two or three weekends. My first real day ride in a new pair is always a short loop on the back roads east of town, not a 250 mile run to Grand Lake, and I plan a stop halfway so I can walk around and check my heels. On the Harley-Davidson Brake Buckle, the round toe and the low heel mean there is not much to catch on the shifter or the peg, so the riding itself is rarely what hurts. It is the standing around at the gas station afterward, and that is exactly the part you want to test early, while you can still take the boots off at home and drive somewhere in something else if it goes badly.
Watch the weather. The listing is honest that these are not water resistant, and wet leather stretches in ways you cannot control. If a spring storm catches you on the way home, take the boots off when you get there, stuff them with newspaper, and let them dry away from a heat source. Riding in them while they are wet is how you end up with a pair that fits like a completely different boot by June. Donna has heard me say this and she will tell you I still check the radar before every ride.
What Else Helps
Cedar shoe trees earn their place in the first month. They hold the shape while the leather dries, pull moisture out of the inside, and keep the boot from folding in on itself overnight in the garage. A boot jack saves your back and keeps you from crushing the heel counter with the other foot, which is a real thing that happens with new pull-on boots. And having a second pair of anything to wear means you are not putting the same leather on every single day. Mine hang on the wall rack in the garage beside the jacket, which sounds like a small thing and is not. A boot that lives on the floor gets stepped on and collects whatever the mower threw. A boot that hangs gets air around it and comes back out dry the next morning.
If you do get a blister, treat it and leave the boots alone for two days. Riding through a blister on the back of your heel is how people decide a perfectly good pair of boots is bad. Sore feet change how you ride, and that is the part that actually matters. Break-in is a two to four week project and the boots last years after that, so there is no reason to compress it into a weekend and lose the fit you were building.
Two to Four Weeks Now, Years of Fit After That
Nothing shortens break-in without taking something out of the leather. Wear them, walk in them, condition them once, and ride short before you ride long. When you are ready to start, the current price is on the listing.
Amazon See Today's Price on Amazon →